Creating Fields
Creating custom fields in NinjaOne
To create a custom field in NinjaOne go to Administration > Devices and select either Role Custom Fields or Global Custom Fields then select Add.
When you create your custom field you need to make sure that you set the Scripts permission to ensure that you can read or write to the field from your scripts - as appropriate for the script you're using.
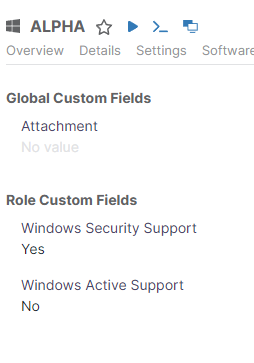
- Role Custom Fields are custom fields that are specific to a device role.
- Global Custom Fields are custom fields that are applicable to all devices and/or to a location and/or organisation
When you create your custom field you need to make sure that you set the Scripts permission to ensure that you can read or write to the field from your scripts - as appropriate for the script you're using.
We're adding three role custom fields for devices with the Windows Laptop role:
| Field Name | Field Type | Description |
|---|---|---|
| Driver Update: Reboot Required | Checkbox | Whether the latest driver update run requires a reboot to finalise. |
| Driver Update: Last Run | Date/Time | The date and time the driver update script last ran successfully. |
| Driver Update: Number Installed on Last Run | Integer | The number of driver updates installed on last script run. |
The Script
Invoke-MUDriverUpdater.ps1
loading...
The Results

You can set this up to run on a schedule - we run this script immediately on machine onboarding and then every 7 days on a Tuesday. This doesn't always have anything to do as our Windows Update run usually handles these updates, but it's a good way to ensure that we're always up to date with the latest drivers from Microsoft Update.